Click-and-drive
In this example we create a simulated robot which uses an automation to drive wherever the user clicks.
#!/usr/bin/env python3
from nicegui import ui
from nicegui.events import SceneClickEventArguments
import rosys
wheels = rosys.hardware.WheelsSimulation()
robot = rosys.hardware.RobotSimulation([wheels])
odometer = rosys.driving.Odometer(wheels)
driver = rosys.driving.Driver(wheels, odometer)
automator = rosys.automation.Automator(None, on_interrupt=wheels.stop)
async def handle_click(e: SceneClickEventArguments):
for hit in e.hits:
if hit.object_id == 'ground':
target = rosys.geometry.Point(x=hit.x, y=hit.y)
automator.start(driver.drive_to(target))
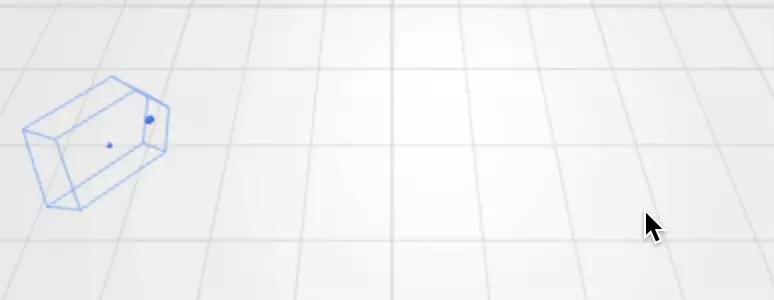
with ui.scene(on_click=handle_click):
shape = rosys.geometry.Prism.default_robot_shape()
rosys.driving.robot_object(shape, odometer, debug=True)
ui.label('click into the scene to drive the robot')
with ui.row():
rosys.automation.automation_controls(automator)
ui.label('you can also pause/resume or stop the running automation')
ui.run(title='RoSys')
- Modules
- Besides wheels, odometer and a robot shape we need a driver that enables the robot to drive along a given path as well as an automator to start and stop such an automated behavior.
- Click handler
- NiceGUI's 3D scene allows registering a click handler that can iterate through all hit points and find the target on the ground.
- Driver
- Among others, the driver has an async method
drive_towhich lets the robot follow a straight line to a given target. - Automator and automation controls
- The automator starts the async method and allows pausing, resuming and stopping it, e.g. with the
AutomationControlsUI element.